tabularasa
New member
- Joined
- Sep 13, 2023
- Messages
- 19
- Reaction score
- 6
- Points
- 3
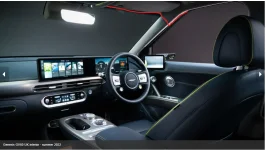
- Genesis Model Year
- 2023
- Genesis Model Type
- Genesis GV60
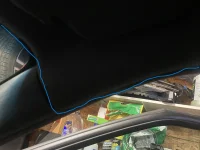
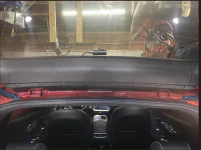
Its is an expensive vehicle. I wouldn't mess around but instead find a quality sound shop.
Our local Best Buy did a fantastic job on ours, front and back, for $75...
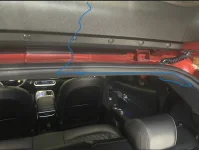
I find my dashcam doesn't turn on every time I turn the car on. Do you guys see this? I believe they wired the power somewhere into the rear view mirror? I can get the dashcam on by pulling the power cable, and plugging it back in. Very odd.