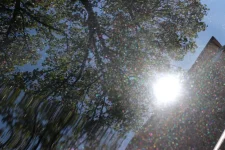
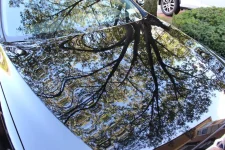
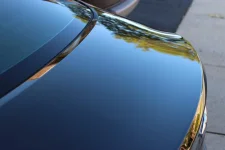
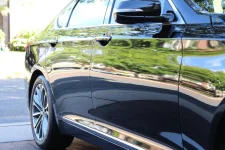
How bad the swirl marks are will depend on what product and method to use. In my case, they were noticeable in many conditions, particularly in sunlight and the unforgiving indoor parking garage lighting. The sparkles in the Caspian Black paint also probably helped mask them somewhat compared to a jet black paint, which can really show any imperfections.
Swirls
For very minor swirls, a polish wax can sometime help, but be aware – these usually simply fill in the imperfections and after a few washes, the swirls or scratches will reappear. The challenge is to remove them losing minimal to no clear coat. Deep scratches into the paint or metal are another subject. In my case, I first tried Meguiar’s Cleaner Wax by hand to no effect. I also then tried Meguiar’s Scratch 2.0 (by hand) which also did not have a noticeable effect. That lead me to what did work. I only did the hood and trunk, as these were the areas that stood out and annoyed me seeing them every day. I followed this video from Autogeek which covers much of what I did below:
https://www.youtube.com/watch?v=-YIYfAS9vR4
The Tools
First, swirl removal is best handled by machine – the amount of work needed to break down the small abrasives in the compound and polish used is best done using a very safe circular/rotary machine polisher. In my case, I got the very popular Porter-Cable 7424XP 6-inch polisher. At just over $100, it is an easy to use, hard to screw up paint, random-orbit tool. This is not the power polishers of the past which had bad reputations as paint killers. (I also got an optional backing plate which allows for easy velcro removal of pads). Second, I decided to use BlackFire products, based my years of success with their polymer paint protection (Wet Diamond). There are other great swirl removal products including those by Wolfgang and
Chemical Guys which would work the same. When using these products and tools, the goal is to start with the least abrasive solution of product and polisher pad and work up. I used the
Chemical Guys Hex-Logic Buffing Pad Kit (BUFHEXKITS8) for the Porter Cable Polisher. I used three different pads for my job. For product, I used the BlackFire twins: SRC Compound and SRC Finishing Polish, topped with Wet Diamond All Finish Paint Protection. If this were not a new car, using a clay bar prior would be recommended to remove any imperfections (place you hand in a plastic baggie and run along the paint surface feeling for bumps).
Steps
I started with the white hex pad and the Finishing Polish, following the steps in the video (which actually starts with the compound first). That did well, but still left swirls, so I then used the SRC Compound and then back to the Polish on the White pad. That two step result was near perfection. I did about a 2'x2' area at a time and removed the excess with a small microfiber towel each run. The pad cleaner included with the pad kit also was a miracle worker as it removed the polish from the pads like magic (and would be useful for other jobs).
Finally, I applied the Wet Diamond paint protection with the black pad at a slower 2.5 speed setting (can be done by hand) and removed after curing for about 15 minutes. The result got me back to how Hyundai likely painted the car before it’s domestic assault by car dealer lot staff and the elements. It was a few hours work, but worth it and likely not needed again to that extent.
Links
http://www.amazon.com/PORTER-CABLE-7424XP-6-Inch-Variable-Speed-Polisher/dp/B002654I46
http://www.chemicalguys.com/Hex_Logic_5_5_Buffing_Pad_Kit_p/buf_hexkits_8p.htm
(
http://www.autogeek.net/blackfire-duo.html
http://www.autogeek.net/blackfire-wet-diamond-sealant.html
http://www.amazon.com/Astro-Pneumatic-4607-Velcro-Backing/dp/B003CH3Z8W/ref=pd_bxgy_469_text_y


